Top 10 Easy AE Expressions
1. Loopout
Add one of these expressions to a property with two or more keyframes.
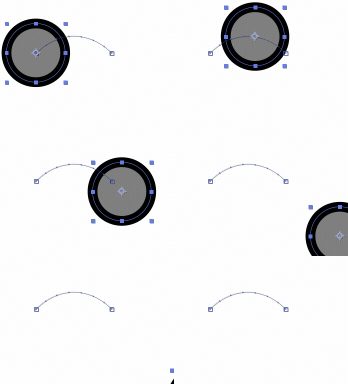
loopOut(“continue”)
loopOut(“cycle”)
loopOut(“pingpong”)
loopOut(“offset”)
2. Wiggle
You can add these expressions to your layer’s Position property. First number is frequency and second is amount. Easy way to remember:
HOW OFTEN and HOW MUCH
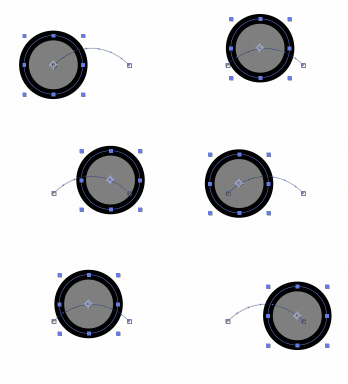
wiggle(3,150)
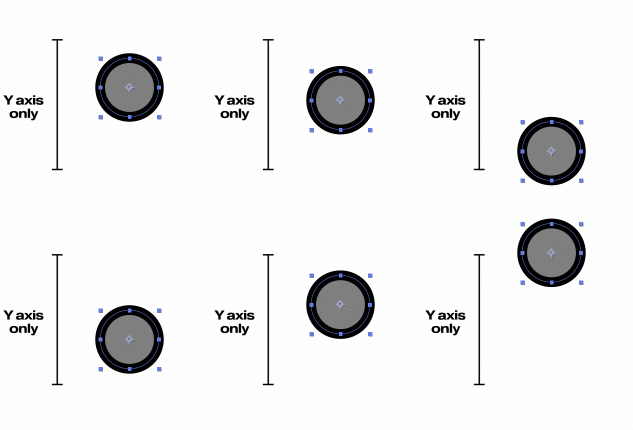
w = wiggle(5,20);
[w[0],value[1]]
w = wiggle(5,20);
[value[0],w[1]]
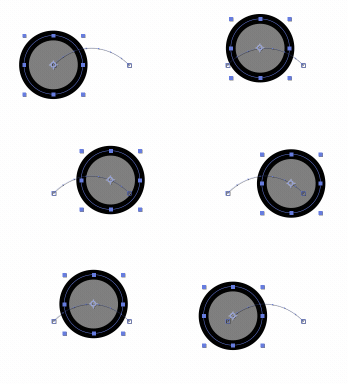
If you want to wiggle scale uniformly, apply this expression to your Scale property:
w = wiggle(5,20);
[w[0],w[0]]
3. lasso to slider
You can lasso numbers in your expression to a “Slider” effect by highlighting the number in your expression, then dragging the expression’s lasso to a slider effect. Doing this will automatically create a new expression and now you’ll be able to keyframe the numbers in your expression.
4. Bake Expressions
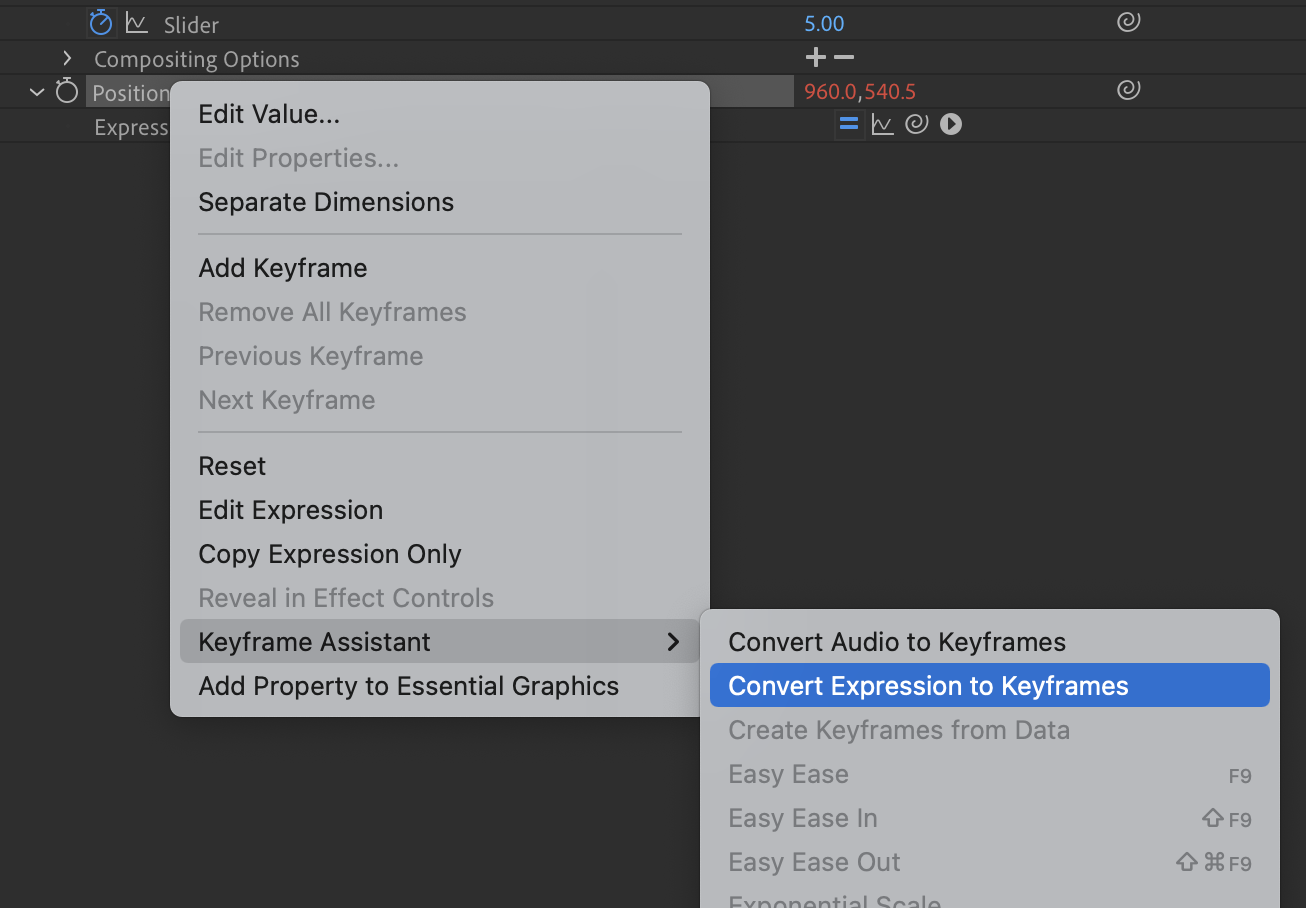
Make your expression permanent by “baking” it into keyframes. Select the property of the expression you want to bake, then in the top bar of After Effects, select Animation > Keyframe Assistant > Convert Expression to Keyframes.
Wait,you say: that’s not an expression?? No, but its just as important so I’m counting it!
Or, you can simply right click the property and select Keyframe Assistant > Convert Expression to Keyframes.
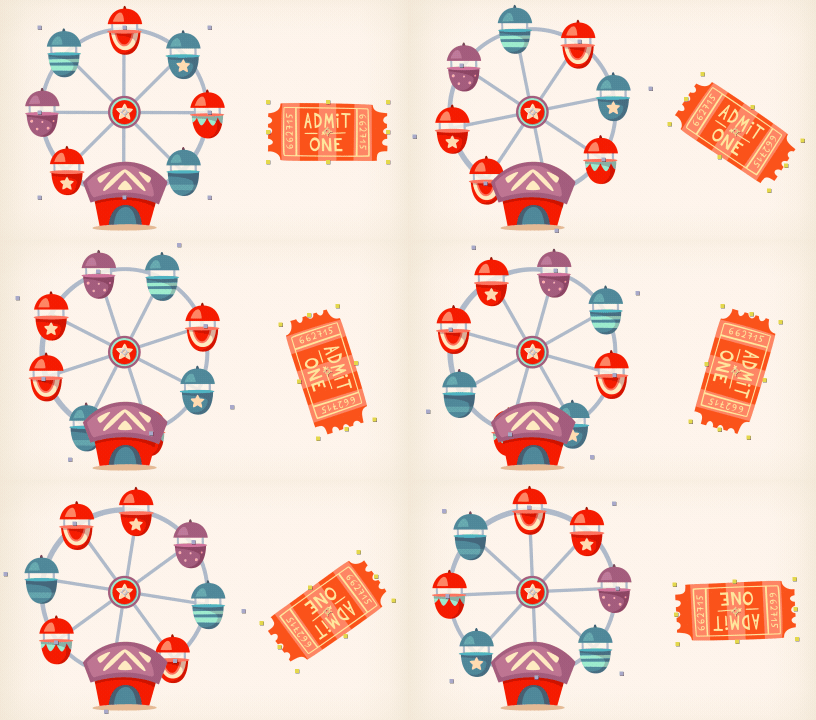
5. Ferris Wheel effect
Parent your layers to your main rotating layer and add the following expression to the rotation property of those child layers to cancel their rotation:
-parent.rotation
6. Lasso to link properties
When you lasso the expression of a property layer to another layer’s property, it will automatically add the expression you need to link them together.
So now, instead of parenting all of the layers properties, you get to link just a single property!
7. Time
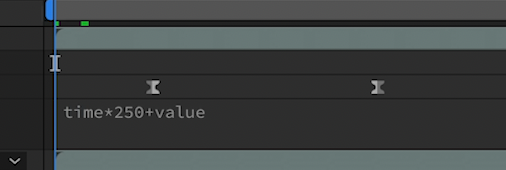
Add the time expression to increase the value of a property to infinity and beyond! Increase or decrease the number in the expression to speed it up or slow it down. In this example it was added to the shark layer’s X position (after seperating position into X and Y via right-click).
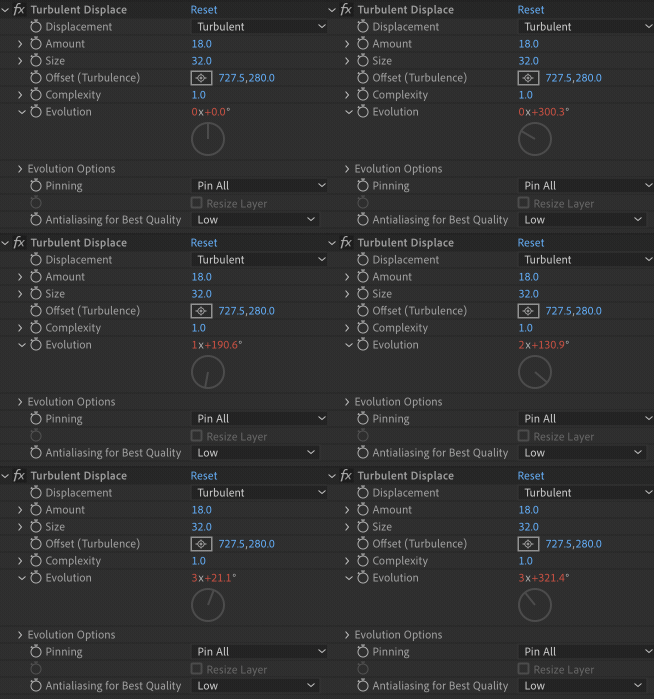
Also added it to the evolution of a “Turbulent Displace” effect so that the image has a subtle watery wavy look to it:
time*60
8. +Value
Want your keyframes to still factor into the expression? No problem. Just add this after your original expression:
+value
9. Posterize Time
Yes, you can change the frame rate of an entire comp in the comp settings, and you can add the “Posterize Time” effect to a single layer, but with this expression you can change the frame rate of a single PROPERTY! Add this expression to the property, change the number to the frame rate you want and BOOM — Bob’s your stepdad:
posterizeTime(12); value;
10. lasso to another comp
Use the expression lasso to link a property value in a precomp to your main comp so you don’t have to keep digging back and forth between all of your comps!
Step 1:
Create a master control null in your main comp and add expression control effects, like sliders or colors, to the null. Rename that as you see fit.
Step 2:
Lock the effects panel for that null
Step 3:
Go into the precomps with the properties you want to link, open up the property’s expression and drag the expression’s lasso to the designated expression effect in the effects panel. Voila! You can repeat this for as many controls as you wish.
BONUS:
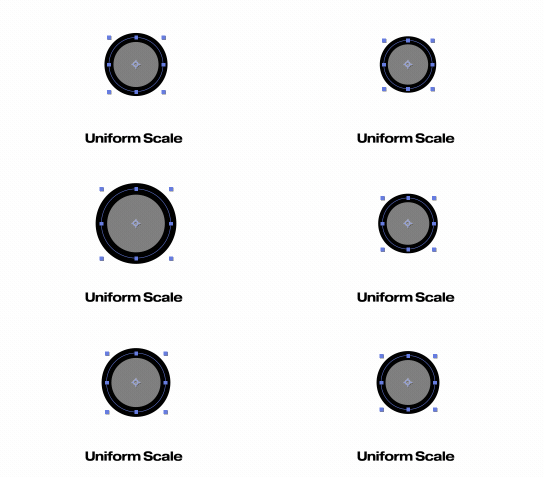
Maintain stroke width
I discovered this one on Tumblr, posted by Adam Plouff. Add this to the stroke value of your shape layer and the stroke width will stay consistent as you resize your layer:
value / length(toComp([0,0]), toComp([0.7071,0.7071])) || 0.001;
MAINTAIN SCALE WHEN PARENTED
Discovered from Ben Marriot’s own “Top Ten AE Expressions” video:
s = [];
ps = parent.transform.scale.value;
for (i = 0; i < ps.length; i++){
s[i] = value[i]*100/ps[i];
}
s
